
Related Articles

React Native Hello World App

Follow my blog with Bloglovin


Today we are going to develop our first React Native application. In this tutorial I am going to directly jump into coding without explain code much. You don’t need to know all sort of technical jargon to write your first React Native application.


This application just prints “Hello World” text on your phone screen. This application can run on Android or iOS device without any code change. This is the power of React Native. You can run your application both Android or iOS devices with minimum code change and most of the code common for both platforms.


Before write any code you need to setup your development environment, if you haven’t done yet. You can get all the information here to setup your React Native Development Environment.


Creating a new application

To create new application, you have to use React Native built-in command line interface. You can access it without installing anything globally using npx, which ships with Node.js. Let's create a new React Native project called "HelloWorld":


npx react-native init HelloWorld


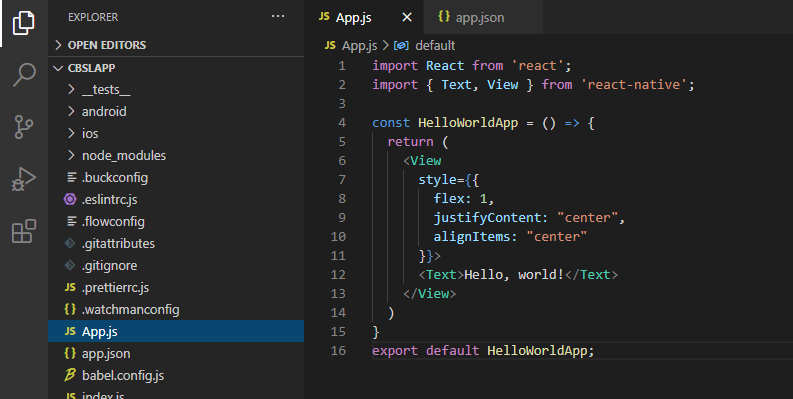
You need to modify App.js file as below to print “Hello World” on your phone screen.


import React from 'react';
import { TextView } from 'react-native';

const HelloWorldApp = () => {
  return (
    <View
      style={{
        flex: 1,
        justifyContent: "center",
        alignItems: "center"
      }}>
      <Text>Hello, world!</Text>
    </View>
  )
}
export default HelloWorldApp;


First two lines import "react" and "react-native" components. Then write simple function called "HelloWorldApp" and it just return "Hello, world!" text.


Finally, default export of "HelloWorldApp" function for rendering.


Next step is to run your application. Below command run your application either on your emulator or mobile device. If you want to test your application on the emulator you have to load your emulator. If you want to test your application on your phone you have to connect your phone via USB port to computer and run below command.

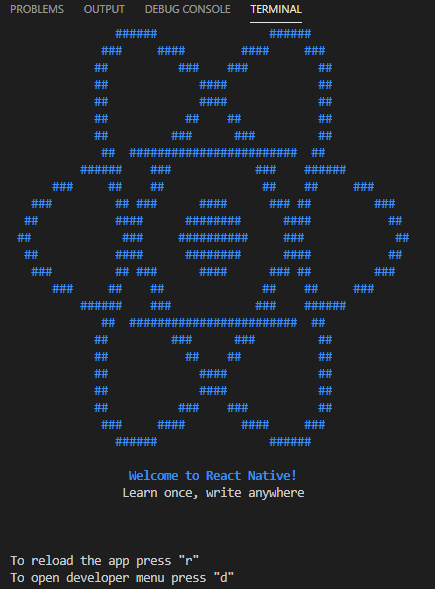
npx react-native start


This will load metro server.


Then run your application, run below command.


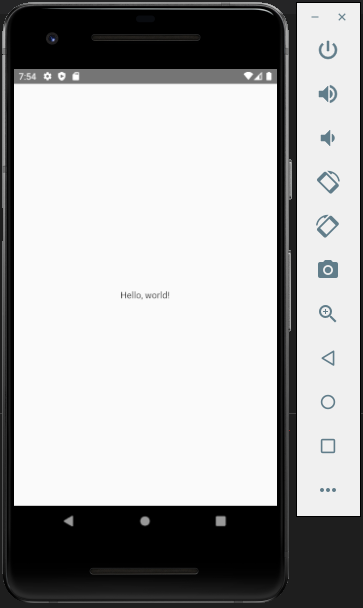
npx react-native run-android


Now you can see your code is running like this.


Now modify your code and see how the changes are reflecting. This is very simple code, but good starting point. Next we try to develop some basic React Native Calculator application.


Comments

Popular posts from this blog

The Power of ChatGPT and Whisper Models

A Deep Dive into Natural Language Processing Natural Language Processing (NLP) has seen a significant boost in recent years due to advancements in artificial intelligence and machine learning. Two models that have shown remarkable success in NLP are ChatGPT and Whisper. In this article, we will delve into the power of these models and their applications in the field of NLP. ChatGPT is a transformer-based language model developed by OpenAI that uses unsupervised learning to predict the next word in a sentence based on the context of previous words. ChatGPT is a generative model that is trained on large datasets of text, such as books and articles, and can be fine-tuned for specific tasks, such as question-answering or dialogue generation. ChatGPT is known for its ability to produce human-like text, making it an ideal tool for applications such as chatbots, content creation, and language translation. Whisper, on the other hand, is a paraphrasing model developed by Google that is based on

Building robust APIs with Node.js

Node.js is a popular open-source JavaScript runtime environment that allows developers to build scalable and high-performance web applications. One of the key strengths of Node.js is its ability to build APIs quickly and efficiently. APIs, or Application Programming Interfaces, allow different systems to communicate with each other, enabling data exchange and other operations. Building robust APIs with Node.js requires an understanding of RESTful architecture, which is a widely adopted standard for creating APIs. RESTful APIs provide a standardized way to expose data and functionality over the web using a set of HTTP methods such as GET, POST, PUT, and DELETE. To build a robust Node.js API, developers must choose an appropriate framework and set up a development environment. They should also handle errors and exceptions, implement authentication and authorization, and use middleware to enhance the functionality of the API. Writing test cases, documenting the API using tools such as Swa

DevOps automation using Python - Part 2

Please read  DevOps automation using Python - Part 1 article before this article, since this is a continuation the same. Introduction to network automation with Python and Netmiko Network automation involves automating the tasks of network devices such as switches, routers, and firewalls to improve efficiency and reduce errors. Python is a popular programming language used for network automation due to its simplicity and ease of use. Netmiko is a Python library used to automate network devices that support SSH connections. In this article, we will provide an introduction to network automation with Python and Netmiko . Setting up Python and Netmiko To get started, you will need to install Python on your machine. You can download the latest version of Python from the official website ( https://www.python.org/downloads/ ) and install it according to the installation instructions for your operating system. Once you have installed Python, you can install Netmiko using pip, a Python package